
If you’re having trouble connecting your Canon printer to your laptop, you’re not alone. The printer is compatible with Mac computers but you have to make sure you download the right driver.
Add your printer to your Mac’s printer list
If you have a Mac, you can add your Canon printer to your list of printers. This can be done manually or automatically.
In some cases, the printer will appear in System Preferences. The Mac will then try to gather information on the printer. It may need a Bluetooth driver or the correct software. You can also ask the Mac to always choose the last printer you used.
Printers can also be added through Wi-Fi connection. To do this, you need to connect the printer to your Mac. Once you have a Wi-Fi connection, you can go to the Apple Self Service app and find the Printers menu.
Another method for adding a printer is to use the Print & Scan menu. In this menu, you can search for your printer by name or by model. After you have found the printer you want, click it.

Photo by Sergey Zolkin on Unsplash
Another way to add a printer is to enter the IP address of the printer. This will help the Mac to detect it on your network.
Install the printer driver
If you have a new Canon printer and you want to use it with your laptop, you must install the right drivers. The drivers may be installed with the help of an installation CD-ROM, a USB connection, or with an administrator account. But before installing the driver, you need to have the printer turned on.
Printers are essential to our daily lives. However, they are sometimes difficult to use. If you are not technically-inclined, you can use the assistance of an expert team from a reputable tech support company.
You can find a wide range of printers on the market. You can use the manufacturer’s website to download the driver for your particular model.
Once you have downloaded the file, you can double-click the file to run the installation. Some computers need a restart to install the driver. It is a good idea to have free space on your hard disk.
The next step is to connect the printer to your computer. A USB cable will be required for the connection. Make sure the USB port on your PC is compatible with the cable.
Join a homegroup
If you have a printer connected to your PC, you can use HomeGroup to share it with other PCs on your network. By default, Windows shares libraries, folders, and printers with other PCs on your home network. However, you can adjust how much you share. You can also choose not to share individual files with others.
To set up HomeGroup, first, you must connect your PC to your network. Then, you can either open File Explorer or Network and Sharing Center. When you open File Explorer, you will see shared libraries and folders. Double-click a library or folder and you will be able to see the files that are being shared.
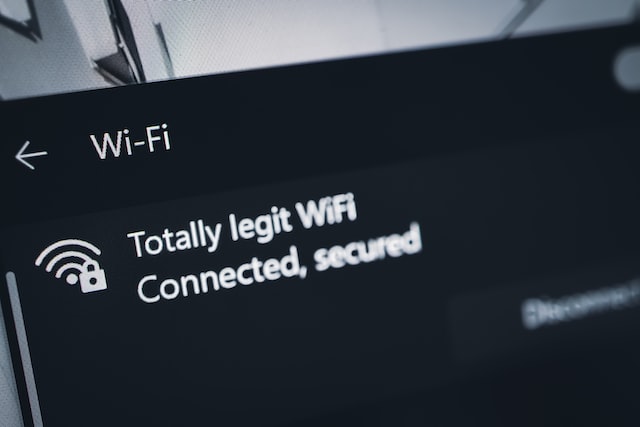
Image by Unsplash+
Next, you need to create a password. You can give your password to other people who want to join your homegroup.
Once you have created your password, you need to enter it into each PC that you have in your homegroup. Your password can be found in a yellow box.
Reconnect your printer to the network
If you want to reconnect your Canon printer to the network, there are a few steps that you need to follow. First, you’ll need to make sure that your printer is connected to the wireless router. You can check the printer’s status by going to the Devices menu in Windows.
Next, you’ll need to make sure that you have an internet connection. This can also be done by checking your router. Depending on the model of your printer, you might need to reset it to its default settings.
Once you have your network set up, you’ll be able to connect your Canon printer to your WiFi. It might take a few minutes to get everything to work. After you’re finished, you’ll need to follow the directions below.
First, you’ll need to go to the Control Panel. From there, you’ll see the devices that you’re connected to. To find your Canon printer, you’ll need to scroll down to Printers.
Next, you’ll need to locate the Wireless tab. The WiFi light on your printer should be on. Alternatively, you can use the built-in Wi-Fi button.