If you want to write an article that gets readers’ attention, you need a great introduction. But what kind of introduction is a good one?
Students will create a weather report using their latest data collected from their Weather Station. They will pretend to be a Meteorologist and create a weather forecast for their team.
1. Create a Topic
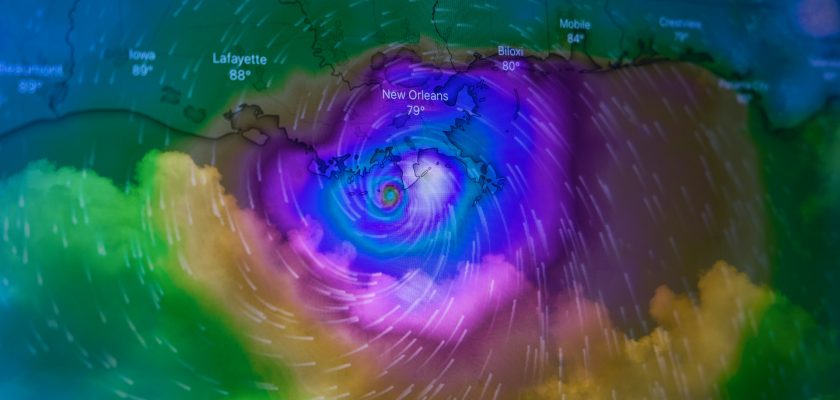
Weather reports are a great way to inform people about the weather conditions in their area. They include everything from the temperature, wind speed and chances of precipitation. They are also important to people who are planning trips or are farmers who need to know the forecast for their crop.
Typically, weather reports are about the day ahead and the next few days, but some longer ones also include forecasts for a week or even more. In any case, it is important to make sure you include all the information you need.
You can use Flipgrid to create your own weather report using the latest weather forecasting technology. It’s a fun way to learn about the different types of weather and how it impacts us, and is also a great opportunity for students to build their presentation skills!

Photo by Annie Spratt on Unsplash
Start by creating a topic for your weather report. It’s easy to do and you can get some good ideas from the Flipgrid community. You can also search the Flipgrid library for topics related to your subject or even the entire year.
Then, write out your weather report script. This could include a welcome, a sign-off and a section that details the weather conditions. This is a good idea because it can help you to get the most out of your report and can really make it stand out.
In addition to the text, you may also want to add pictures of your own weather for extra impact. A photo of the sky is great, but you can also use an image of a storm to illustrate the conditions.
Once your weather report is ready, you can share it with the class via Flipgrid. This is a great way to engage the whole class and get everyone involved in the learning process.
Another way to get your students involved in a weather report is to have them watch a local weather broadcast or take a field trip to a TV station. This will allow them to see the way a weather report is produced and how it works. It will also teach them about the different weather types and how they are represented by symbols.
2. Create a Video
Flipgrid is a free, easy-to-use ed tech tool that encourages students to engage in video discussions with their peers. Designed by Microsoft, Flipgrid allows teachers to create grids that contain questions and video responses from their students. These are laid out in a tiled format so students can easily view other students’ responses and respond with their own videos.
When teachers set up topics inside Flipgrid, they can add a variety of prompt materials and control student access to the Topic as well as comment moderation. The resulting grids are referred to as “grids” and can be shared with multiple classrooms, making them a great way to engage students in online discussion with peers.
To get started, teachers should first create a topic that contains the question they want to ask their students. They can also choose to add additional prompt materials, such as images, GIFs, emojis, and more.
Once the Topic is created, students can then access it from within Canvas and record a video response to the question they were asked. Once they have completed the video, students can then submit it to the course using the link provided by the teacher.
Typically, teachers include a prompt on their assignment link so that students can read the instructions and understand what is expected before they record their videos. They may also give directions on how to use the video editor, which is an excellent feature that makes it easy to change things around and add text, a filter, frames, emojis, and more.
After recording their videos, students can then go back to the Assignment in Canvas and review them. When they have finished, they can then submit the assignment and be graded by their instructor using SpeedGrader.
Before they can start creating their videos, students should make sure to have a good Internet connection and an updated device. They should also have a camera that can capture high-quality video and audio. To ensure that students can capture high-quality video, they should use a camera with a good zoom range and a wide-angle lens. In addition, they should avoid recording too close to their faces or focusing on one part of the screen.
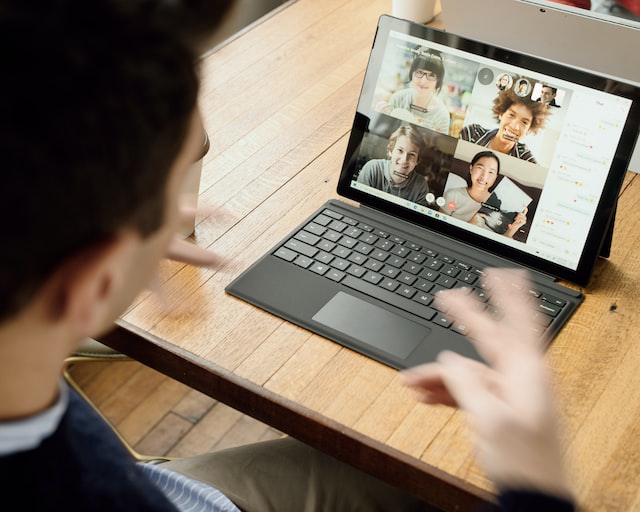
Photo by Surface on Unsplash
4. Upload Your Video
Using an iPad and green screen, students will create a weather report to share with the class. First, students will collect data from the weather station to use as a basis for their forecast. Once they have collected the data, they will then analyze it to make a prediction in what kind of weather is expected for today.
After they have analyzed their data and created a forecast, the student will then record their weather report on Flipgrid. The student can then add any other relevant information they want to include on the video to complete their forecast.
To begin the recording, click on the “Record” button. You can pause the recording and resume it at any time. Once the video is recorded, you can edit your display name and choose an image that will be used as the thumbnail picture for your video.
Once you are happy with your video, you can post it on Flipgrid. Once it is posted, anyone with a UH login can view your video. You can also comment on other people’s videos and receive email notifications if someone comments on yours.
If you have a video from another source, such as YouTube, you can upload that as well. You can even upload a YouTube video with embedded interactions from a tool like EdPuzzle or Nearpod (full list of embeds here).
The advantage of Flipgrid is that it works online, which makes it possible for laptops, tablets, smartphones, and Chromebooks to access the software. In addition, it is free to educators and doesn’t require accounts or passwords.
A topic in Flipgrid is a message board that teachers use to pose questions to their students. In the free version, students can record 90-second video responses that appear in a tiled “grid” display.
In the paid version, students can record longer video responses. This allows them to defend their answers more thoroughly and is a good way to teach critical thinking.
If you have questions about how to use Flipgrid, or need help getting started with your project, be sure to contact Kathleen Marte in the Thousand Oaks Elementary ELD Site Office. She will be more than happy to help!