If you’re wondering how to reformat an external hard drive on macOS, you’ve come to the right place. This article will walk you through a step-by-step process to help you format and use an external hard drive with your Mac.
Formatting a Fat32 drive on macOS might cause problems
While Macs can read Windows file systems, there are some nuances involved when you try to format a Fat32 drive on macOS. The first step is to determine if the drive you’re trying to format is compatible with your computer. You can use the Disk Utility app to check. If you get a message saying that the drive isn’t formatted correctly, you should erase the drive and start from scratch. However, if the drive works properly on other computers, then the problem is likely in your settings.
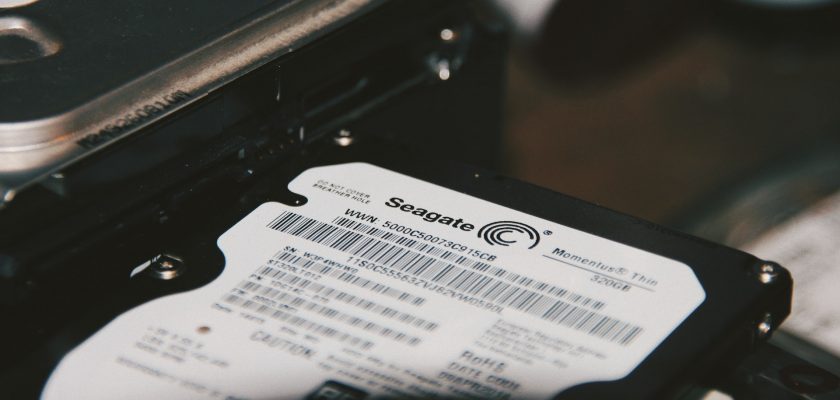
Photo by Devon Janse van Rensburg on Unsplash
Alternatively, you could format the drive as NTFS. NTFS supports larger files, and is compatible with both Windows and macOS. Regardless of what you choose, it’s important to back up the data before you do anything.
FAT32 is a popular file system that works with many different operating systems. For example, mobile game consoles and video cameras often use this format. It’s also compatible with Linux. This makes it a great choice for a cross-platform flash storage solution.
Although FAT32 is an excellent file system, it does have some limitations. One of them is the file size limit. Generally, you can only store files up to four gigabytes. In addition, the file name length is restricted to four bytes. So, if you’re planning on storing a large amount of data, it may be better to use another format.
Formatting an external hard drive with APFS
If you are using an external hard drive on your Mac, you may want to convert it to APFS. This will make the drive appear on the Mac’s Desktop and will enable you to access the data without having to re-format the drive. However, you will have to back up your data before formatting.
You can use Disk Utility to format your external hard drive. It is simple to use, and you will only need a few minutes to complete the conversion.
The first step to formatting your drive is to launch Disk Utility. You can find it in Applications > Utilities. Once you launch the utility, select the disk you want to format.
Next, you need to select the partition scheme. A GUID Partition Map is recommended. In addition, you will also need to choose a file system. You can choose Apple File System (APFS), Mac OS Extended, or ExFAT.
To change the format of your external hard drive to APFS, you will need to select the partition scheme and file system. You can also split the volume if you have more than one.
Now that you know how to reformat an external hard drive to APFS, you can connect your drive to your Mac. Before you do, however, you will need to prepare your drive and ensure that you have enough free space.
Photo by Joy Real on Unsplash
Formatting an external hard drive with Time Machine
If you are using an external hard drive as a Time Machine backup device, you’ll want to make sure that it’s formatted properly. This will ensure that it is compatible with Mac OS and will ensure that you have the correct settings for your system. The process is straightforward and can be completed in a matter of minutes.
First, you’ll need to connect the external hard drive to your Mac computer. In order to do this, you’ll need to make sure that you’ve got the right adaptor, as well as the right end of the USB cable.
Next, you’ll need to access the Disk Utility application. This is a built-in tool that can be found in the Finder app on your Mac. Once you’ve opened the app, you’ll see a list of all your connected drives.
You’ll be able to choose which one to use. By default, the drive will be formatted for macOS Extended (Journaled). However, you can choose to format your drive for Windows if you so desire.
Unlike other operating systems, macOS can read and write to NTFS file systems natively. Having this option will allow you to backup and restore your data more easily.
For the best performance, you’ll want to partition your external hard drive. This way, you’ll have dedicated space for your backups. Partitioning also reduces the risk of malware infection.