If you are wondering how to replace toner in brother printer, you’re not alone. Most people have trouble with this task, but it’s not as difficult as you might think. All you need is some knowledge and the right tools. Here are some tips for you:
Replace the toner cartridge
If your Brother printer displays a “Replace Toner” message, it means the toner cartridge is almost empty. You can either replace the toner cartridge or bypass the message.
Some printers will still show the “Toner Low” error even after replacing the toner cartridge. This usually means that 10% to 20% of the toner powder is left in the toner cartridge.
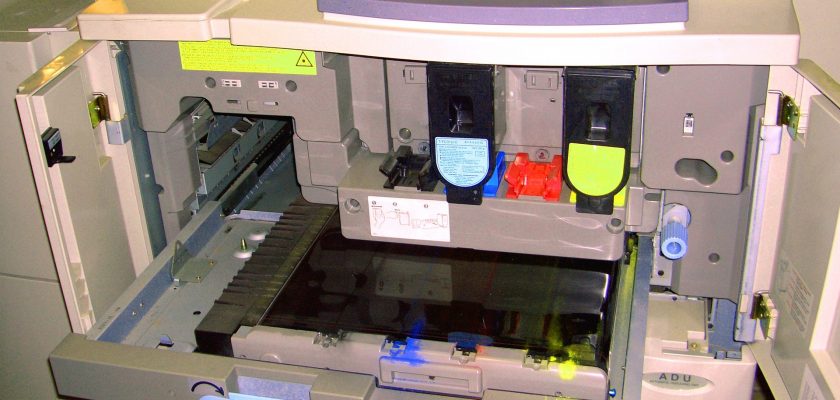
To replace the toner cartridge in your Brother printer, you need to remove the toner cartridge and drum unit assembly from the printer. Then, you need to install the new toner cartridge into the drum unit.
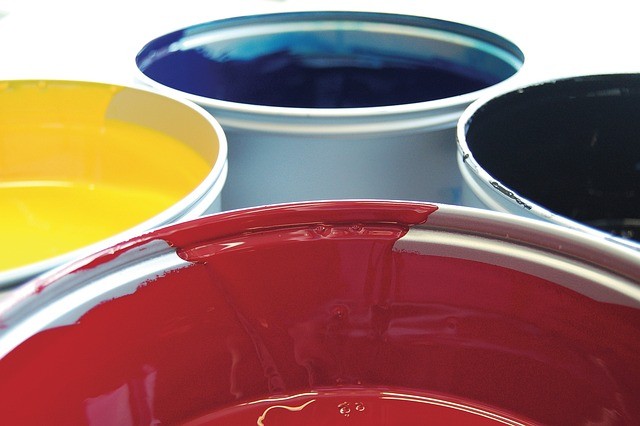
Image by André Zivic from Pixabay
When you remove the toner cartridge from the printer, you need to make sure that the toner contacts are clean. You can use a water-based pen to mark the contacts. Make sure that the arrows on the green tab line up with the contact points.
Then, you can start printing. Once the new toner cartridge is installed, the toner level will be reset automatically.
Identify if the toner cartridge is used or empty
If your Brother printer is displaying the “No Toner” or “Toner Low” message, it means that the toner cartridge is faulty. This can happen due to poor installation or even a defective chip. You can fix this by reinstalling the toner or by calling the manufacturer.
The first step to identifying if the toner cartridge is used or empty is to open the printer cover. This is important because it will reset the memory of the printer. After you have opened the printer, wait about 30 seconds before turning on the printer again.
Another step to identify if the toner cartridge is used orempty is to check the contacts. These may be dirty or damaged. Check for metal contacts and put them in a safe place.
When you have a high yield toner cartridge, you can use it for approximately two or four thousand pages before it runs out. However, there is no exact indicator of when it will run out.
Remove the “No Toner” error message
If you have a Brother printer, chances are that you’ve seen the infamous “No Toner” message. This can be a result of the printer’s failure to identify or reset the toner cartridge’s counting gear. Fortunately, you can use the following information to remove the No Toner message from your device.
In some cases, the “No Toner” error message in a Brother printer can be caused by a hardware or software glitch. It can also be caused by installing a new toner or drum unit. You should contact Brother support if you have any questions about the problem.
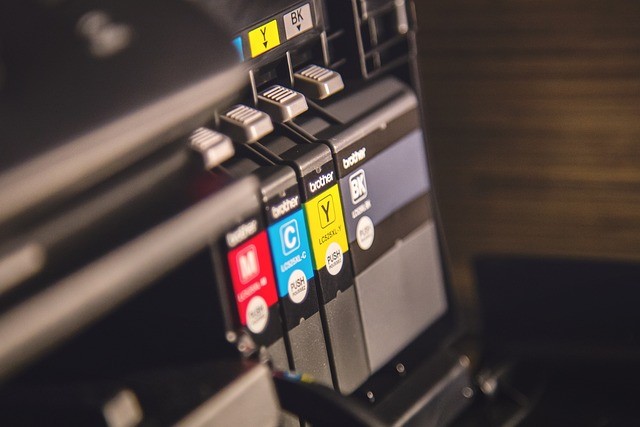
Image by tookapic from Pixabay
The best way to remove the No Toner message is to replace the toner cartridge. However, if that’s not an option, there are other methods for resetting the toner.
First, check the front cover of the printer. Sometimes, the problem can be caused by metal pieces or rods that are causing the printer to malfunction. A simple fix is to pull the front cover open.
Reset the toner
If you are experiencing trouble with your Brother printer, you may need to reset the toner. This will allow you to continue printing for the life of the cartridge.
The toner in Brother printers is measured in terms of pages. When it is running low, the machine will display warning messages such as “toner low,” “toner is low,” and “toner life end.” You can clear these errors by installing a new toner cartridge. However, you should first remove any other Brother toner cartridges in your printer.
Before you do this, make sure to clean the corona wire inside your printer. If the corona wire is dirty or loose, you will have poor print quality. Clean it with a lint free cloth.
Your toner counter will need to be reset manually, if it does not automatically do so after a replacement toner cartridge is installed. To do this, follow these simple steps.
To start the reset process, open the front cover of your printer. After doing so, hold down the Go button while turning the printer on. Hold it down for 5 to 10 seconds, and then release it.