
If your brother printer is not printing, there are a couple of things you can try. One of them is to reset the drum. This is done by following a few simple steps.
Replace the drum unit
When you decide to replace the drum unit on your Brother printer, you may be unsure about which steps to take. The good news is, the process is not that complicated. It involves some simple steps, including a reset of the drum counter.
First, you should remove the old drum unit from your printer. You can do this by opening the front cover and putting the unit in a plastic bag.
Next, you must clean the inside of the drum. This is important because the material inside the unit interacts with the laser inside the printer. If the inside of the unit is dirty, it will affect your prints.
Once you’ve cleaned the drum, you’re ready to reinstall the unit. Before doing this, however, you should perform a brief drum life check.
There are several factors that determine how long your drum unit will last. One of these is how much toner you use. A good rule of thumb is to replace the toner every 3 or 4 prints.
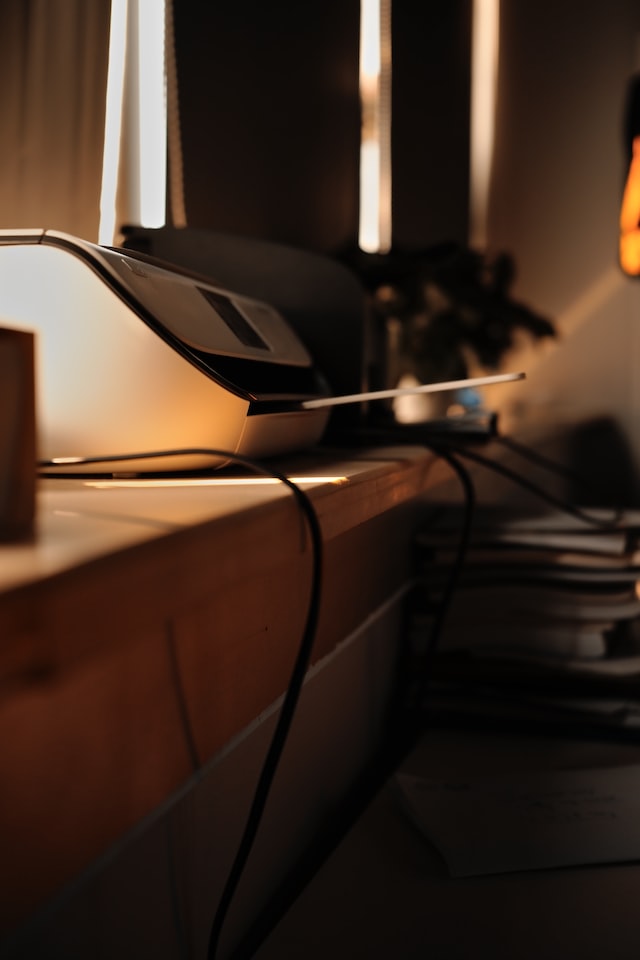
Photo by JustA Guy on Unsplash
Replace the toner cartridges
If you’re having trouble with your Brother printer, it’s likely that the problem is with the toner cartridge. The first thing to do is to remove the toner from the printer. You can do this by pushing down the green lock on the toner cartridge. It’s a good idea to clean the contacts before you try to replace the toner.
Another good thing to do is to reset the printer. This will get rid of the error message. However, it will also reset the toner counter.
Toner cartridges come in many different varieties. Each type has its own unique printing process. So it’s important to make sure that you’re getting a toner that’s compatible with your Brother printer.
Before you purchase a new toner cartridge, you’ll want to read the instructions for installing it. Some printers have built-in toner resetting menus. These allow you to clear the toner counter without turning the printer off.
When replacing the toner, you’ll also need to install a new drum unit. A drum unit is a small piece of equipment that houses the toner.
Reset the drum counter
If you are getting the Replace Drum message on your Brother printer, there are several steps you can take to fix it. You can either call a Brother Authorized Service Center or try a manual reset. But keep in mind that the steps are different for each model of Brother printer. Here are the main steps:
Ensure your printer is switched on. Close the front cover. Hold the Go button for four seconds. Wait for all LEDs to light up. Release the Go button after the four seconds are over.
Toner and imaging drum are separate parts of the Brother laser printer. They are designed to work together to provide a quality print. However, after several years of use, these parts should be replaced.
Resetting the drum counter on your Brother printer will clear the error message and allow you to continue printing. However, resetting the drum counter will not improve the quality of the printed material. In fact, it will not even improve the life of the drum unit.
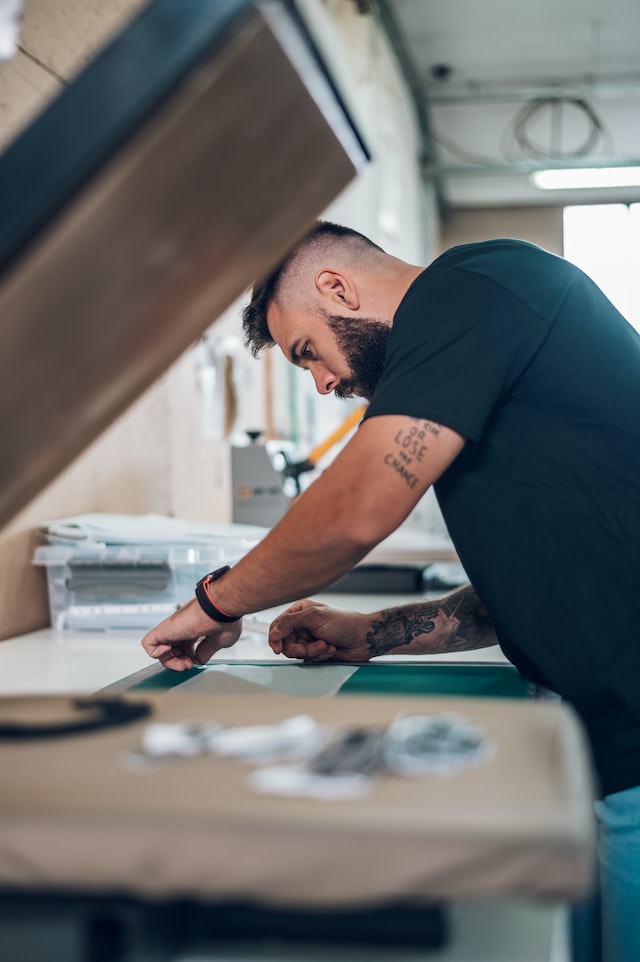
Image by Unsplash+
Reset the drum life display
If your Brother printer is having problems with the drum unit, you may be wondering if you can reset the drum life display on your printer. Most Brother printers will have a LED screen that displays a message that shows how many pages are left in your drum. This information is important because a worn drum unit will cause streaks on your printouts. In some cases, you may need to replace the drum unit.
The drum unit is an important part of your Brother printer. It transfers the toner from the toner cartridge to the paper. As the unit wears, it will become more difficult for the toner to be transferred. However, it is still possible to extend the life of your drum unit.
Some Brother printers come with a touchscreen. To reset the drum life display on your printer, you will need to use the touchscreen. Follow the steps below.
First, you will need to remove the old drum unit. To do this, you should open the front cover of your printer. You should also check the chips of your toner cartridges.